Southern Comfort Food
Texas Roadhouse Chicken Fried Chicken Copycat
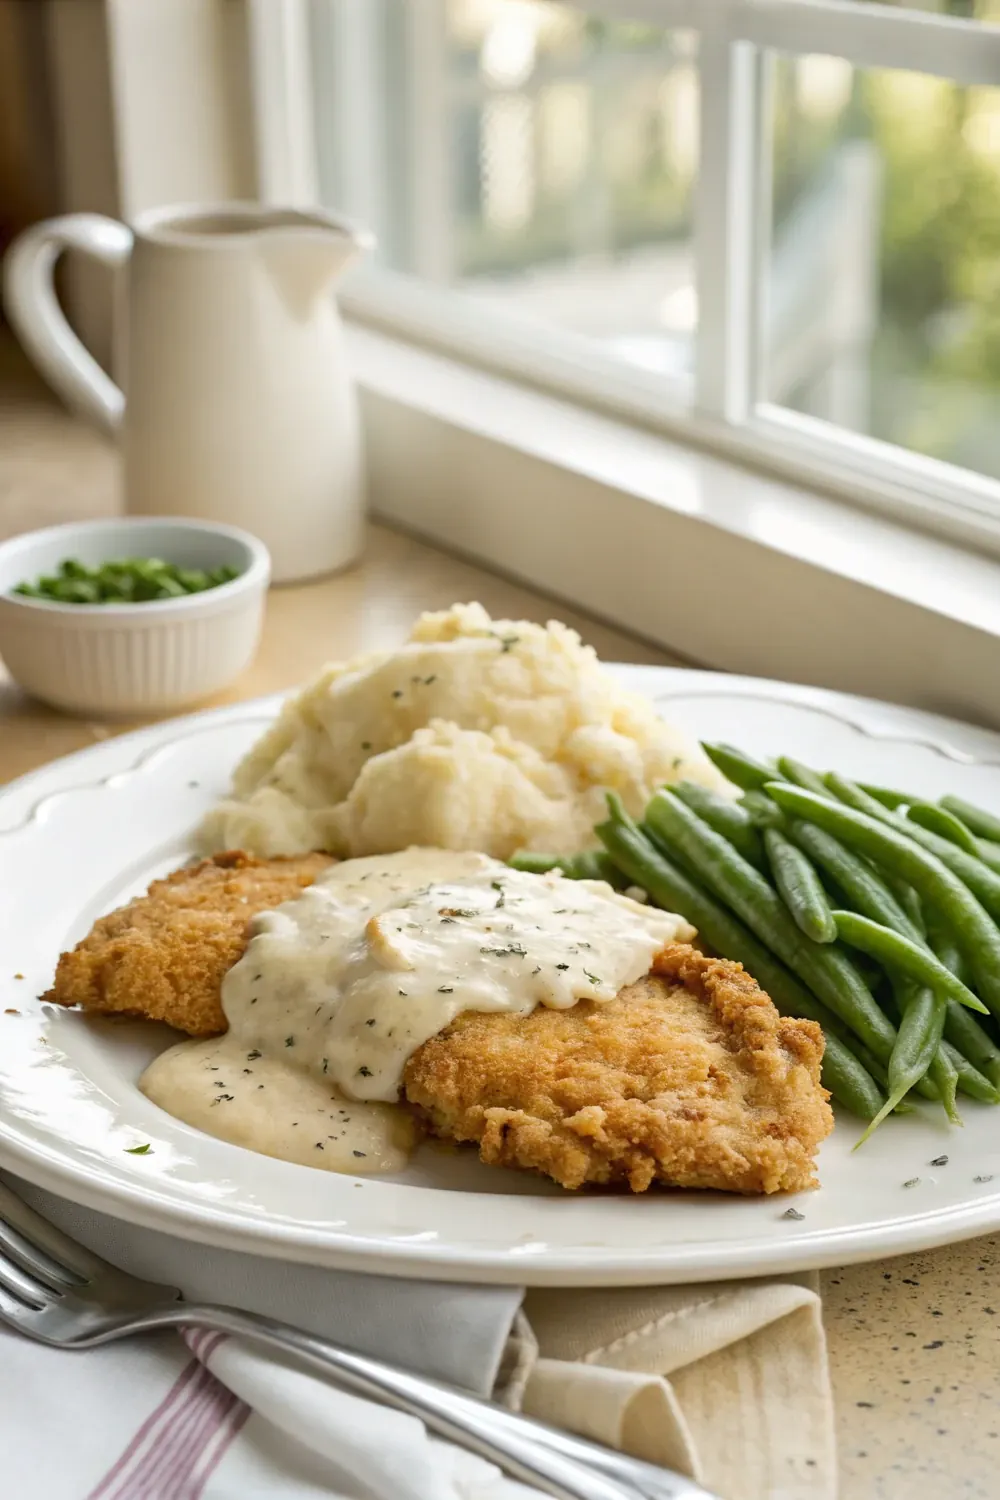
Chef Mia's Texas Roadhouse chicken fried chicken copycat: buttermilk-soaked breasts, a craggy double-dredged crust, fried to 165F, under peppery cream gravy.
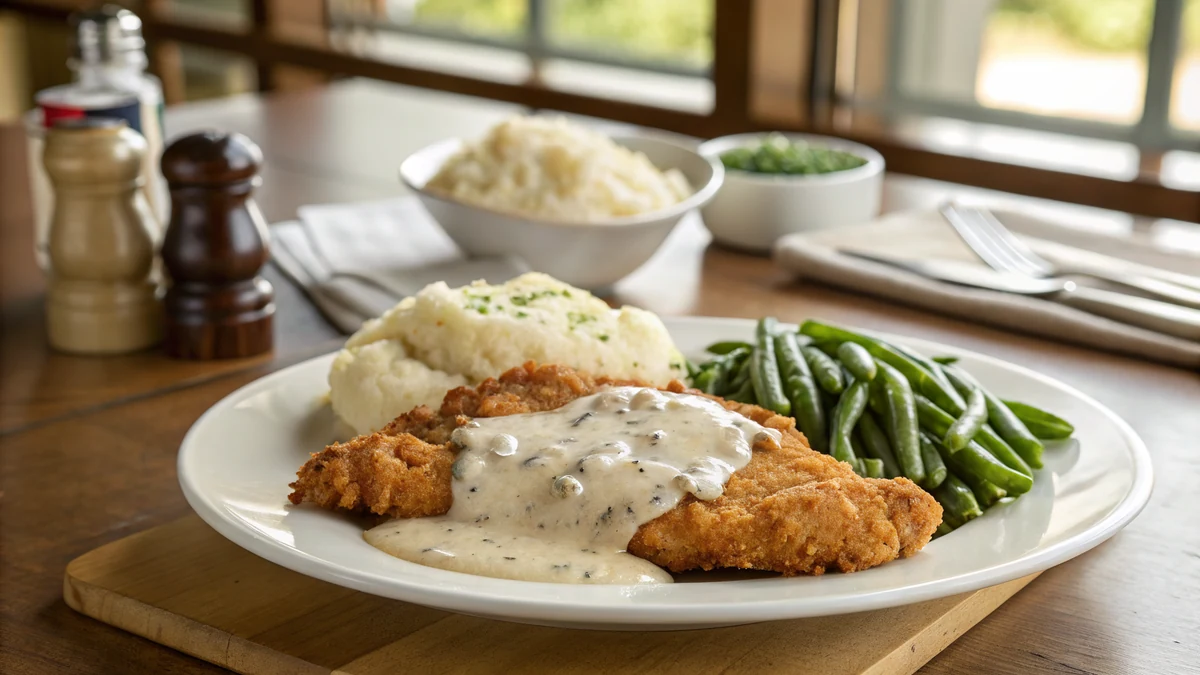
Quick answer: Texas Roadhouse chicken fried chicken is a boneless, skinless breast pounded thin, soaked in buttermilk with egg and hot sauce, then double-dredged in seasoned flour for a craggy crust. You fry it at 350F until the inside hits 165F, drain it, and smother it in peppery white cream gravy. This copycat tastes like the restaurant version, takes about 45 minutes start to finish, and serves four hungry people at the table.
The first time I ordered chicken fried chicken at Texas Roadhouse, I was confused by the name and then completely won over by the plate. It is not chicken fried steak, and it is not your standard fried chicken either. It is a tender boneless breast, pounded thin, fried under a shaggy golden crust, and drowned in white pepper gravy. I have spent more dinners than I can count chasing that exact texture in my own kitchen, and I finally cracked it. This plate is Southern comfort cooking at its most satisfying.
What sells this dish is contrast. The crust has to shatter when your fork hits it, the chicken underneath has to stay juicy, and the gravy has to be loose enough to pool but thick enough to cling. Most home cooks miss the mark because they skip the buttermilk soak or rush the dredge. I learned the hard way that patience in the first ten minutes pays off in every bite later.
If you already love my chicken fried steak, this is its softer, juicier cousin. Pour yourself some sweet tea and let me show you how I make it.
Chicken Fried Chicken vs Chicken Fried Steak
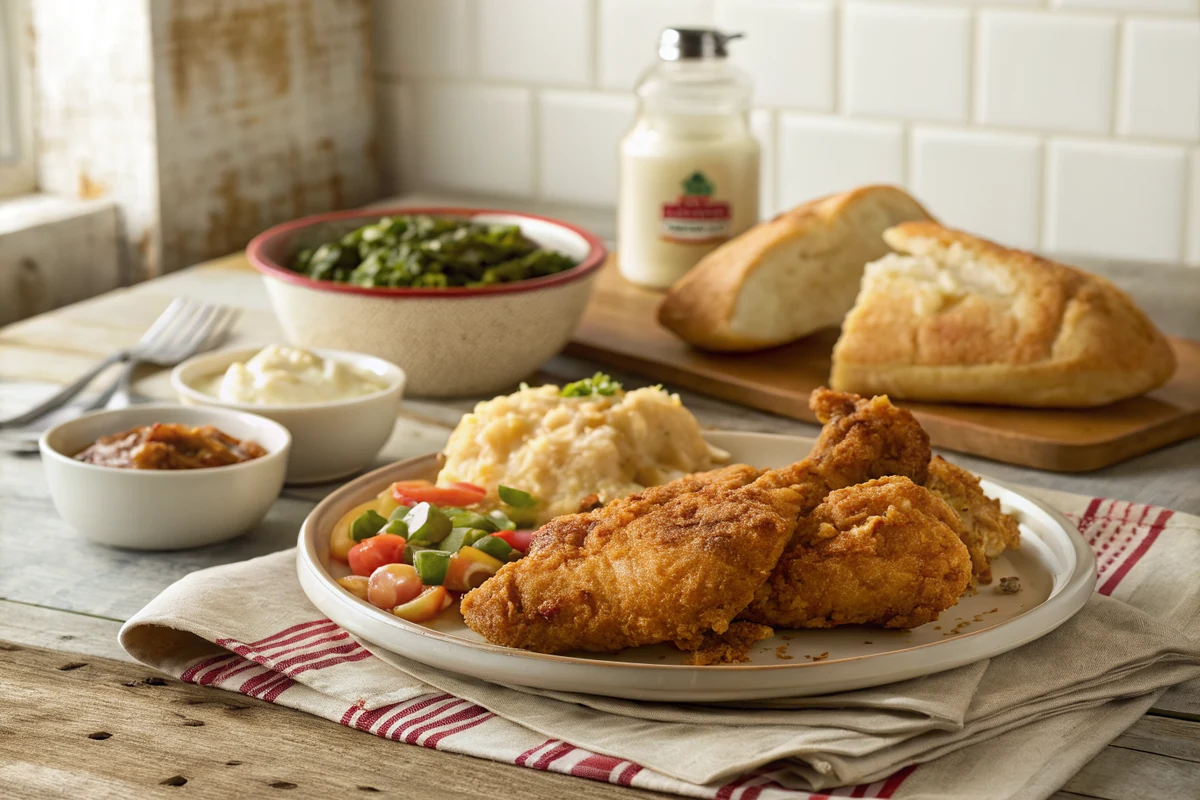
People mix these two up constantly, and I get why. They share a name, a crust, and a river of cream gravy. The difference is the meat. Chicken fried steak uses a tenderized cube steak, a cut of beef pounded until the fibers break down. Chicken fried chicken swaps in a boneless, skinless chicken breast and treats it the same way. The cooking method is identical, which is where the confusing name comes from.
I actually prefer the chicken version for a weeknight. Beef cube steak can turn chewy if you overcook it by even a minute, while a pounded chicken breast stays forgiving and juicy as long as you pull it at 165F. The flavor is milder too, which lets that peppery gravy shine instead of fighting with a strong beefy taste.
If you want the beef original after this, my full chicken fried steak walks through the cube steak version step by step. And if you like this smothered in gravy, try my country fried chicken, which is pan-fried and smothered in peppery country gravy instead of fried crispy and topped, or my crispy chicken critters when you want golden tenders to dunk rather than smother. Both belong on a proper Texas supper table, and honestly I rotate between them depending on what is in the freezer.
Why You Pound the Chicken Thin
A whole chicken breast is thick on one end and tapered on the other. If you fry it as-is, the skinny end overcooks and dries out while the fat end is still raw in the middle. Pounding it to an even 1/2 inch fixes that problem entirely. Every part of the breast hits 165F at the same moment, so nothing is sacrificed.
There is a texture bonus too. Pounding gently breaks down some of the muscle fibers, which makes the cooked chicken more tender to the bite. I lay the breast between two sheets of plastic wrap and use the flat side of a meat mallet, working from the center toward the edges. Plastic wrap keeps the meat from shredding and keeps my counter clean.
Do not go thinner than about 1/2 inch or the breast cooks through before the crust browns, leaving you with pale coating. Half an inch is the sweet spot where the crust and the meat finish together. If a breast is especially plump, I sometimes slice it in half horizontally first to make two thinner cutlets, then pound each one lightly to even it out. That gives me more pieces and a faster, more reliable fry.
Why Buttermilk Is Non-Negotiable
Buttermilk does two jobs at once. Its mild acidity gently tenderizes the chicken, loosening the proteins so the cooked breast turns out soft instead of rubbery. At the same time it is thick and clingy, so it grabs onto the meat and gives the seasoned flour something to stick to. Plain milk runs right off and the crust slides with it.
The egg in the soak adds richness and helps the coating bond, and the hot sauce brings a low background warmth that you taste more as savory depth than as heat. Two tablespoons will not set anyone's mouth on fire, I promise. If you have picky eaters, you can cut it to one.
I learned the value of a proper soak from a piece on the buttermilk soak years ago, and it changed how I fry everything. Give it at least 30 minutes, but an overnight soak in the fridge is even better if you can plan ahead.
The Double-Dredge Craggy Crust Secret
The signature look of Texas Roadhouse chicken fried chicken is that bumpy, craggy crust with little crunchy nubs sticking out everywhere. You do not get that from a single neat coating. You get it from dredging twice and from building texture into the flour before the chicken ever touches it.
Here is the trick I use. After mixing the dry seasoned flour, I drizzle a few spoonfuls of the buttermilk soak right into the bowl and rake it with a fork. That creates shaggy clumps throughout the flour. When you press the wet chicken into that lumpy flour, dip it back in the buttermilk, and press it into the flour again, those clumps stack into ridges that fry up extra crisp.
Pressing matters. Do not just dust the chicken, mash it firmly into the flour with the heel of your hand so the coating compacts and grips. Then let the dredged pieces rest on a rack for about 10 minutes. That resting step lets the flour hydrate and glue itself down, which keeps the crust from sliding off in the hot oil.
Getting the Oil Temperature Right
Frying lives and dies by oil temperature, and 350F is the number to chase. I use a heavy cast iron skillet or a Dutch oven because they hold heat steadily, and I clip a thermometer to the side so I am never guessing. About an inch of oil is plenty for these thin breasts.
When the oil is too cool, the crust soaks up grease before it can set, and you end up with a heavy, oily piece. When it is too hot, the outside scorches dark brown while the inside is still raw. Neither is what you want. Steady 350F gives the crust time to turn deep golden while the chicken cooks through to a safe center.
Choose an oil with a high smoke point. Peanut oil is my favorite for the flavor and the high tolerance, but plain vegetable or canola oil works fine and costs less. Avoid olive oil here, it smokes too low and tastes wrong with this dish.
Frying in Batches and Oil Recovery
It is tempting to throw all four breasts in at once and be done, but crowding the pan is a rookie mistake. Cold chicken dropped into oil pulls the temperature down fast. Add too many pieces and the oil plunges well below 350F, the crust gets greasy, and everything cooks unevenly.
Fry one or two pieces at a time depending on the size of your pan. After each batch, let the oil climb back to 350F before you add the next. This oil recovery step usually takes a minute or two. I keep the thermometer clipped on the whole time so I can see exactly when it is ready.
Plan for the wait by keeping finished pieces warm. I set a wire rack over a sheet pan in a 200F oven and park each fried breast there. They stay hot and crisp for a good 20 minutes, which is more than enough time to work through all four and then build the gravy.
Draining and Keeping It Crisp
What you do right after frying decides whether your crust stays crunchy or goes soft in five minutes. The instinct is to drop the chicken on a stack of paper towels, but that traps steam against the bottom and turns the underside soggy. Skip it.
Instead, transfer each piece to a wire rack set over a baking sheet. Air circulates all the way around, the excess oil drips off, and the crust stays crisp on every side. This is the single easiest upgrade most home cooks overlook, and it makes a real difference.
Salt the chicken lightly the moment it comes out of the oil, while the surface is still glistening, so the seasoning sticks. Then keep the rack in that low oven until you are ready to plate. Hold the gravy until the last second, because once it lands on the crust the clock starts ticking on the crunch.
Doneness and Food Safety
Chicken is not the place to play guessing games. The only reliable way to know a breast is done is to check it with an instant-read thermometer pushed into the thickest part. You are looking for 165F, full stop. Color and timing are helpful guides, but the thermometer is the truth.
The USDA backs this up. Their guidance calls for a safe internal temperature of 165F for all poultry, and because we pounded these breasts thin they hit that mark quickly, usually in 8 to 10 minutes of total frying. That speed is another reason pounding is worth the effort.
If a piece is browning too fast but the center reads low, lower the heat slightly and give it another minute. And always let the thermometer settle for a few seconds before you trust the number. A quick poke and pull can read lower than the real temperature.
The Cream Gravy Ratio and Lump-Free Method
The gravy is half the dish, and it is really just a peppery white sauce built on a roux. My ratio is simple and easy to remember: 3 tablespoons fat, 3 tablespoons flour, and 2 cups whole milk. That gives you a pourable gravy that coats a spoon without turning to paste. Use whole milk, not skim, because the fat carries flavor and body.
For fat, I love using a few spoonfuls of the chicken drippings left in the pan, since they are loaded with toasty fried flavor. Butter works beautifully too if you would rather start clean. Whisk the flour into the warm fat and cook it a minute or two until it smells nutty, which cooks off the raw flour taste.
To stay lump-free, add the milk slowly and whisk the whole time. Pour in a splash, whisk it smooth, then add more. If you dump it all in at once you will get lumps. Simmer until it thickens, then hit it with salt and far more black pepper than feels reasonable. This is a pepper gravy, so be generous. Pair it with a big scoop of mashed potatoes and you have got the full plate.
What to Serve Alongside
This is comfort food, so I lean into hearty Texas sides. Creamy mashed potatoes are the obvious partner, because the gravy you ladle over the chicken can spill right onto them and nobody complains. Buttered green beans or a simple corn add a little brightness to balance the richness.
When I want to go full restaurant copycat at home, I bake a basket of Texas Roadhouse rolls to mop up gravy, and I set out a little ramekin of honey mustard for anyone who likes to dip. It is over the top in the best way.
If you are feeding a crowd or putting on a special spread, a slow-roasted prime rib alongside turns this into a serious feast. But honestly, on a regular Tuesday, the chicken, the gravy, and a pile of potatoes is all the plate needs. A frosty Jamaican Cowboy on the side never hurts.
Make-Ahead, Reheating, and Air-Fryer Notes
You can do a fair amount ahead of time. Pound the breasts and start the buttermilk soak in the morning so they are ready to dredge at dinner. You can also whisk the seasoned flour a day in advance and keep it covered. I would not dredge the chicken until just before frying, though, because a coated raw breast goes gummy if it sits too long.
Leftovers keep in the fridge for up to three days. To bring the crust back, skip the microwave, which steams the coating soft, and reheat the chicken on a rack in a 375F oven for about 10 minutes until hot and crisp again. Store the gravy separately and rewarm it gently on the stove with a splash of milk to loosen it.
An air fryer is a great reheating tool, 375F for 4 to 5 minutes revives the crunch nicely. I do not recommend air frying the initial cook, though, because the wet buttermilk dredge needs to be submerged in oil to set into that craggy crust. The hot air alone leaves the coating patchy and the texture flat.
Common Mistakes to Avoid
The biggest mistake I see is skipping or shortening the buttermilk soak. Without it the crust will not grip and the chicken turns out tough. Give it 30 minutes minimum. The second most common error is crowding the pan, which crashes the oil temperature and gives you greasy, pale results. Fry in small batches and let the oil recover.
Another trap is uneven pounding. If one end is thick and the other thin, you cannot win, something will be raw or dry. Take the extra minute to pound the breast flat and uniform. And please, use a thermometer for both the oil and the chicken. Eyeballing it is how good ingredients get ruined.
One more mistake worth naming is under-seasoning the flour. The crust is a big surface area, and bland coating drags the whole plate down even when the gravy is good. Taste a pinch of your seasoned flour before you dredge, it should taste a little too salty and peppery on its own, because the chicken inside dilutes it.
Finally, do not sauce too early. The crust you worked so hard for stays crisp for only a few minutes once the gravy hits it. Plate the chicken, ladle the hot gravy at the last second, and carry it straight to the table. Treat it gently and this copycat will rival the restaurant every single time.
Texas Roadhouse Chicken Fried Chicken Copycat Recipe
Ingredients
- For the chicken:
- 4 boneless skinless chicken breasts (about 6 ounces each)
- 1 1/2 cups buttermilk
- 1 large egg
- 2 tablespoons hot sauce
- 1 teaspoon fine sea salt
- Vegetable or peanut oil, for frying (about 4 cups)
- For the seasoned flour:
- 2 cups all-purpose flour
- 2 teaspoons paprika
- 2 teaspoons garlic powder
- 2 teaspoons onion powder
- 1/2 teaspoon cayenne pepper
- 1 teaspoon baking powder
- 1 1/2 teaspoons fine sea salt
- 1 teaspoon freshly ground black pepper
- For the cream gravy:
- 3 tablespoons butter or reserved frying drippings
- 3 tablespoons all-purpose flour
- 2 cups whole milk
- 1/2 teaspoon fine sea salt
- 1 teaspoon freshly ground black pepper, plus more to taste
Instructions
- Pound the chicken even. Place each breast between two sheets of plastic wrap and pound with a meat mallet or heavy skillet until it is an even 1/2 inch thick. Even thickness is the difference between a juicy center and a dry, overcooked edge. Work from the center outward so you do not tear the meat.
- Make the buttermilk soak. In a wide bowl, whisk together the buttermilk, egg, hot sauce, and 1 teaspoon salt. Submerge the pounded breasts, cover, and refrigerate for at least 30 minutes, or up to 8 hours. The acid tenderizes the meat and helps the flour cling.
- Mix the seasoned flour. In a large shallow dish, whisk the flour with the paprika, garlic powder, onion powder, cayenne, baking powder, 1 1/2 teaspoons salt, and black pepper. Spoon a few tablespoons of the buttermilk soak into the flour and rake it with a fork to create shaggy clumps. Those clumps become the craggy crust.
- Double-dredge each breast. Lift a breast from the buttermilk, letting the excess drip off, and press it firmly into the seasoned flour. Dip it back into the buttermilk, then back into the flour a second time, pressing hard so the coating builds up. Set it on a rack and repeat with the rest. Let them rest 10 minutes so the crust adheres.
- Heat the oil to 350F. Pour about 1 inch of oil into a heavy cast iron skillet or Dutch oven and heat to 350F on a clip-on thermometer. Hold this temperature. Too cool and the crust turns greasy, too hot and it browns before the inside cooks through.
- Fry in batches. Lower one or two breasts into the oil without crowding the pan. Fry 4 to 5 minutes per side until deep golden brown and the internal temperature reads 165F. Let the oil recover to 350F between batches so each piece crisps properly.
- Drain and hold crisp. Transfer the fried chicken to a wire rack set over a sheet pan, not paper towels, so air circulates and the bottom stays crisp. Keep finished pieces warm in a 200F oven while you fry the rest.
- Make the pepper cream gravy. Pour off all but 3 tablespoons of drippings, or melt 3 tablespoons butter in a clean pan. Whisk in the flour and cook 1 to 2 minutes until it smells nutty. Slowly whisk in the milk, stirring constantly to prevent lumps. Simmer until thickened, then season with salt and lots of black pepper.
- Smother and serve. Set each breast on a plate and ladle the hot cream gravy generously over the top. Serve right away while the crust still has its crunch, with mashed potatoes and a side of green beans.
Frequently Asked Questions
What is the difference between chicken fried chicken and fried chicken?
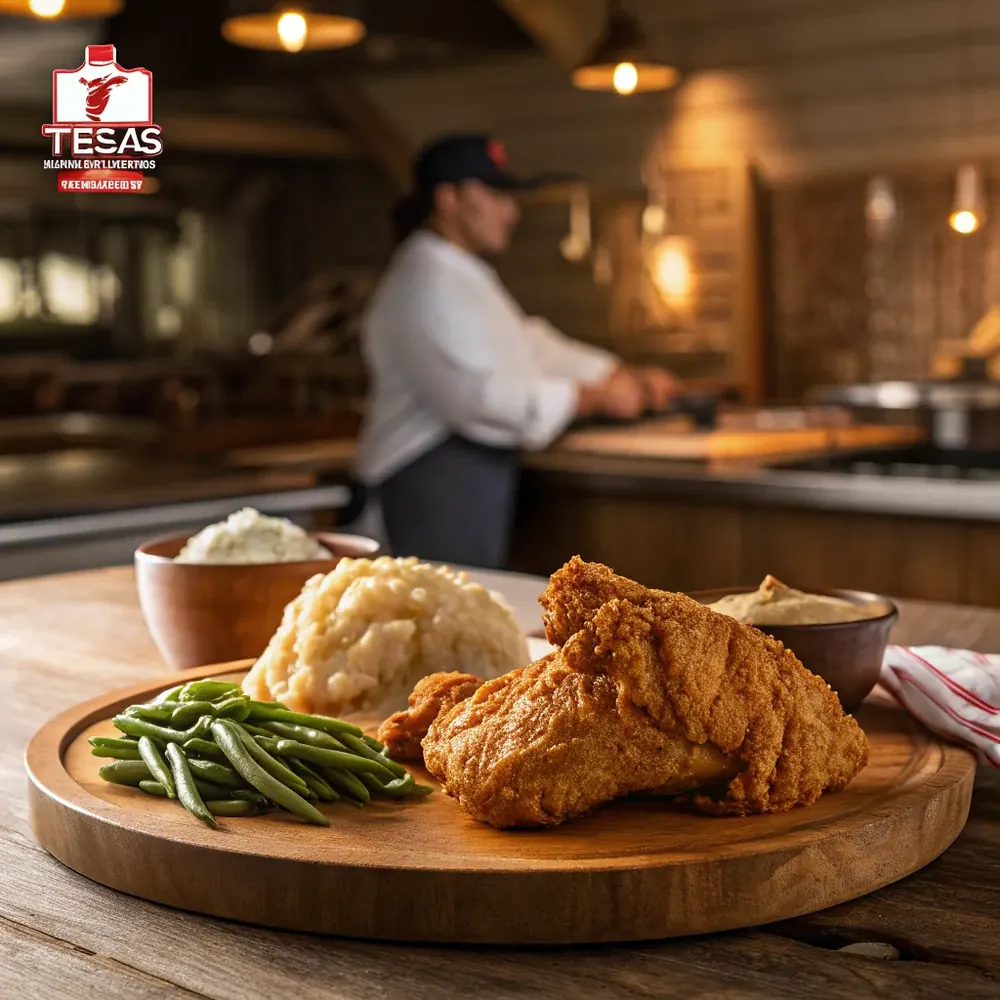
Regular fried chicken uses bone-in, skin-on pieces fried until crisp and eaten as is. Chicken fried chicken uses a boneless, skinless breast pounded thin and coated using the same method as chicken fried steak, then it is smothered in white cream gravy. The name comes from cooking chicken in the chicken fried steak style rather than the classic Southern way.
Why is my crust falling off the chicken?
Almost always it is one of three things. The chicken was too wet or not soaked in buttermilk long enough, so the flour had nothing to grip. You did not press the coating on firmly. Or you skipped the 10 minute rest after dredging. Soak it properly, press hard, let it rest, and the crust will stay put through frying.
Can I make this without a deep fryer?
Absolutely, I never use one. A heavy cast iron skillet or Dutch oven with about an inch of oil is all you need. Clip a thermometer to the side and hold the oil at 350F. The thin pounded breasts cook through quickly, so you do not need deep oil, just enough to come partway up the sides while you flip halfway through.
What oil is best for frying chicken fried chicken?
Pick an oil with a high smoke point and a neutral flavor. Peanut oil is my top choice for its high tolerance and pleasant taste, but vegetable or canola oil both work well and cost less. Avoid olive oil, which smokes at too low a temperature and gives the chicken an off flavor that fights with the gravy.
How do I know when the chicken is done?
Use an instant-read thermometer and check the thickest part of the breast. You want 165F, which the USDA lists as the safe minimum for poultry. Because the breasts are pounded thin, they usually reach that in about 8 to 10 minutes of total frying. Do not rely on color alone, since a golden crust can hide an undercooked center.
Can I make the cream gravy ahead of time?
You can, though it thickens as it cools and forms a skin. Make it up to two days ahead and store it in the fridge. To serve, rewarm it gently on the stove with a splash of milk whisked in to loosen it back to a pourable consistency. Taste and add more black pepper before serving, since chilling dulls the seasoning a bit.
Can I freeze leftover chicken fried chicken?
Yes, freeze the cooked chicken without gravy for up to two months. Cool it fully, wrap each piece, and bag it. Reheat from frozen on a rack in a 375F oven for about 18 to 20 minutes until hot and crisp. Freeze the gravy separately in a small container, then thaw and rewarm it on the stove with a little extra milk to bring it back.
Is chicken fried chicken spicy?
Not really, despite the hot sauce and cayenne in the recipe. Those add a gentle savory warmth and depth rather than real heat, so most people just taste a well-seasoned crust. If you want more kick, double the cayenne and the hot sauce. If you are cooking for kids, cut the hot sauce to one tablespoon and the dish stays mild and family friendly.